Thursday, July 21, 2011

Caring for boutique Handmade Clothing

Let's face it...we LOVE handmade clothing~or at least I do. I know when my child wears the clothing that not everyone and their dog will have a piece like it. I also know that if I buy it from another seller it is likely that they are also a stay/work at home mom and I am supporting them in their decision to care for their children. BUY HANDMADE~that's all I can say!!

I can't speak for everyone's handmade clothing but I take great pride in making quality clothing with extra special care to the stitching. I serge and topstitch the seams to help them last longer and not worry so much about fraying in the wash. I wash my clothing in a COLD gentle wash cycle and hang dry. WHY, you ask?...the COLD waters helps to prevent any fabric dye from bleeding~the gentle cycle slows down the speed of the cycle which isn't as harsh on clothing~ and I hang dry to try and prevent ironing. I am not a FAN of the iron, though much needed at times, but seriously I am busy enough without having to worry about pressing any clothing. Sometimes I forget and throw the clothing in the dryer but I will then either suck it up and pull out the iron or wet it and hang dry....depending on the time I have. I follow the same directions above for Appliques except I turn them inside out to further protect the stitching. Now on to those cute tutu's~they can be washed. If you have a laundry bag put them in it, but if not be careful as to what else you throw in there with them as the tulle can easily be snagged on zippers etc. After you have washed them~ hang to dry...NEVER dry a tutu or they will be ruined. You can Fluff the tulle when and it is dry and it's as good as new.

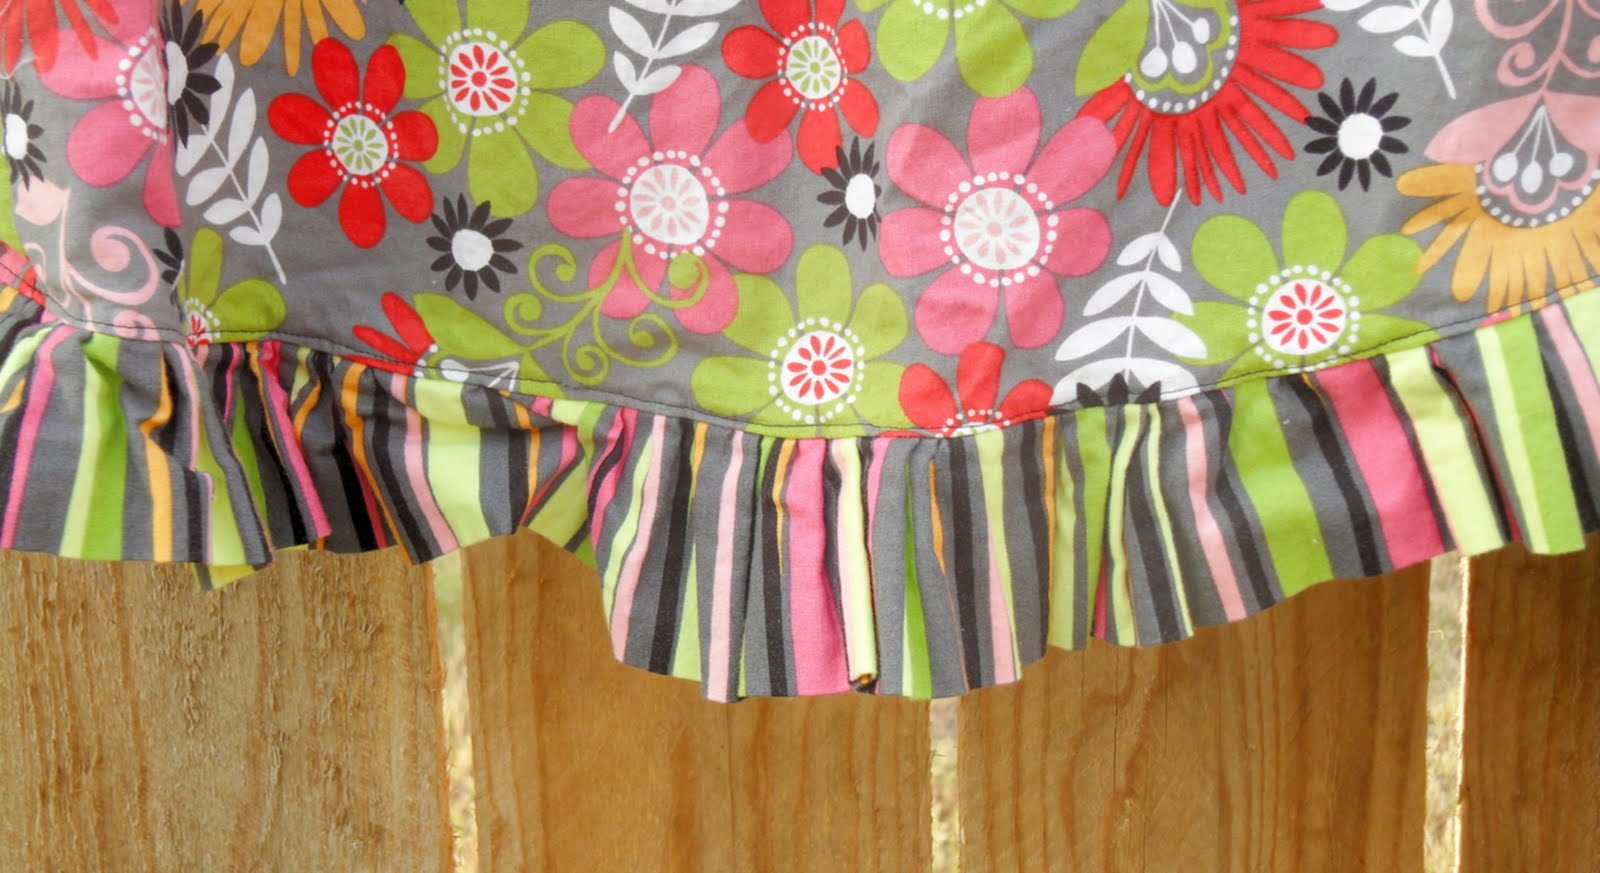
What a difference dryer vs hanging to dry makes!!

See how winkled the sleeves and ruffle at the bottom is?
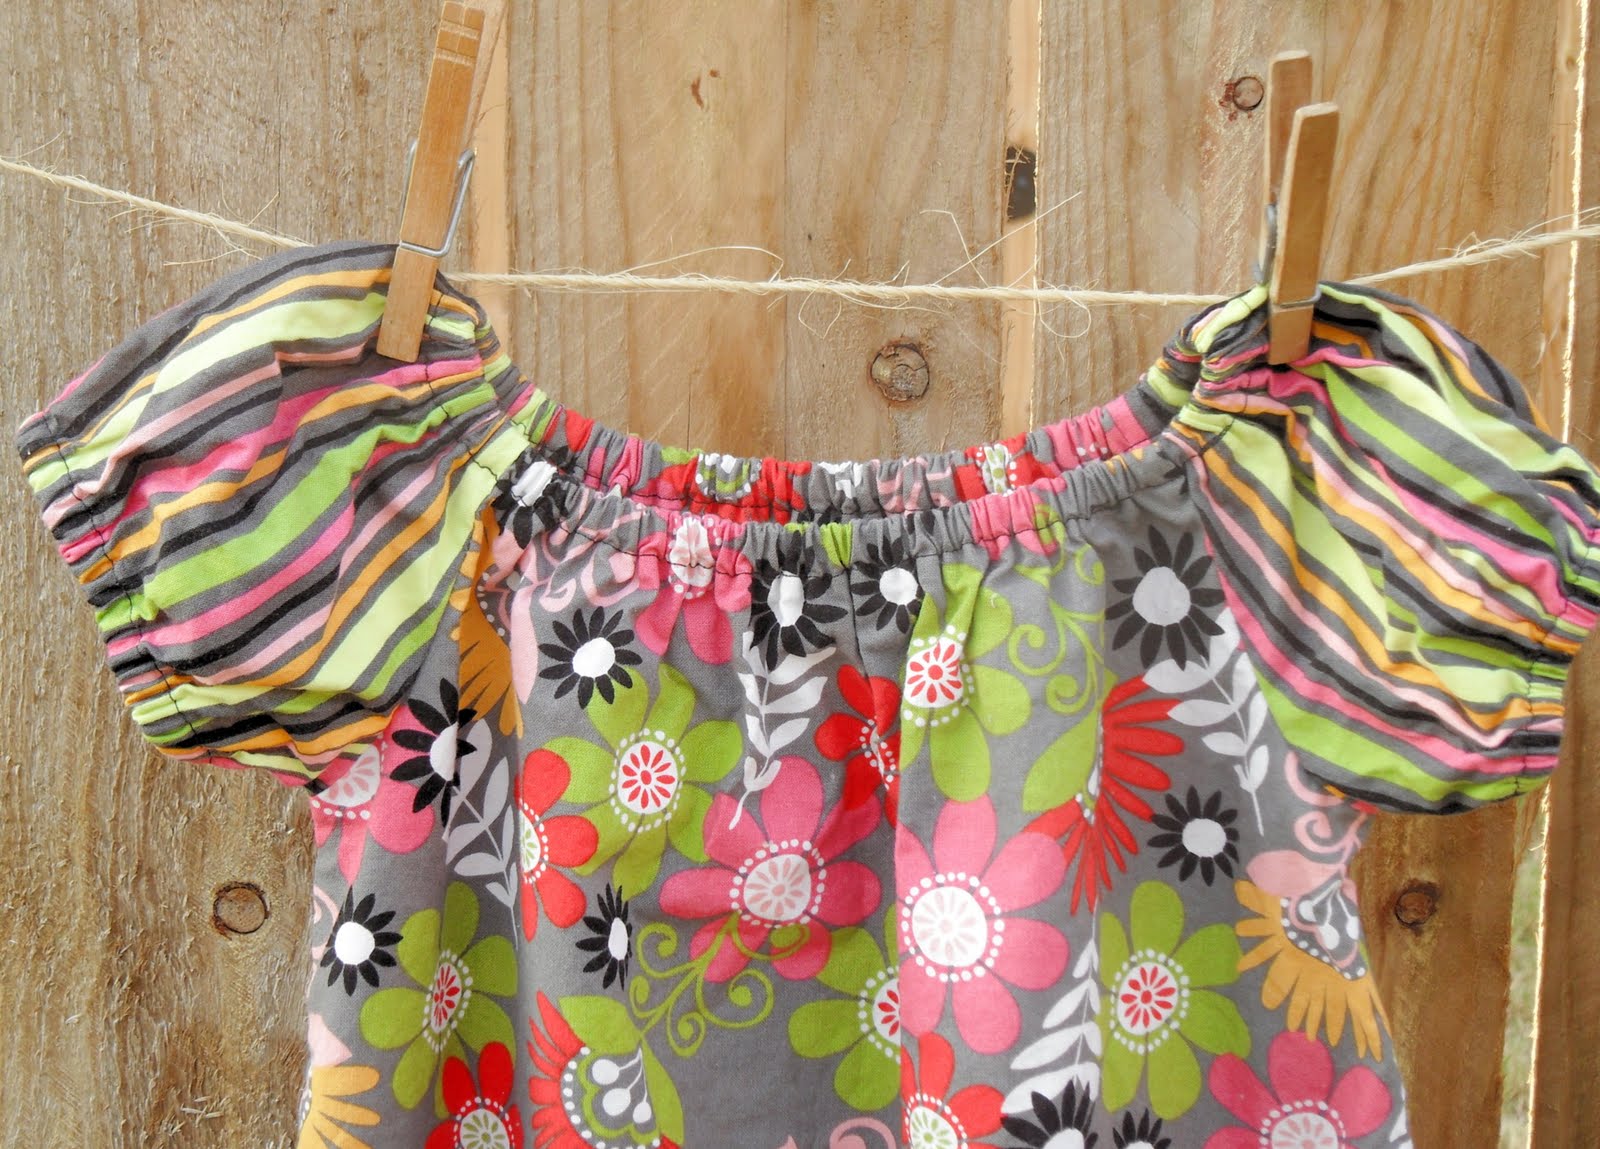


And now the results of Hanging to dry. I do straighten the dress a little while wet after I hang it and pull a little at the ruffle to get it straighten out.


Protect your investment in all those cute boutique outfits and take extra special care when washing and drying. If you have any other helpful hints feel free to share.


From blog signature

Sunday, July 17, 2011

Miss Libby Lou Peasant Dress Giveaway

June was my one year anniversary month and I had so much I wanted to do to celebrate but things didn't work out as planned. I ended up taking 2 vacations to see my sisters new place in Florida and a little R&R on the beach~with all that I ran out of time. Now I am back in Full Force and wanted to say Thanks for a Great Year!!
With that being said~ Here is your opportunity to score one of my new Peasant Dresses for this Fall in the Purple Poppy. Winner can pick any size from 6 months to 8 years.
It has the sweetest little ruffle down the center and a bow at the top.

These dresses are perfect for play and so easy for the little ones to take on and off

{This was her pose~not really sure what that's all about}

A few ways to enter for this Fab little giveaway
1}Fill out my FORM
2} Share this giveaway with your friends on Facebook or Twitter
3} Publically follow my blog
4}"Like" me on Facebook

You can do One or ALL 4. Please make one comment on the blog for each entry.

Thanks and Good Luck!!
From blog signature

Thursday, June 16, 2011

Ruched Camera Strap Cover

A little beauty for a friend to use for her camera. I used the tutorial over at The Cottage Home~which is Adorable!! I knew when I saw it I had to use this one for the strap. I love how it turned out and a BIG Thanks to The Cottage Mama!!


It has padding on the inside for some extra comfort. This tutorial was really easy to follow with wonderful pictures~you should definitely give it a try.


Here is her little Camera shirt that I made


Hope you enjoy and Happy Sewing!!


Wednesday, June 15, 2011

Long to Short Sleeve TShirt Makeover


I can't take full credit for this idea, for one it seems as everyone is making tshirt makeover blog posts. All I have done is take two ideas and combined them to make my rendition of this upcycled Tshirt. I had two Walmart Garanimals brand shirts leftover from the winter, however I saw several on clearance the other day for $1. You will also need a sewing machine, 1/4" elastic, 2 buttons, and coordinating thread.

First you want to cut the sleeves off and make them a little longer than you want them.


I then took my sleeves and cut them open and cut the hemming off , and then cut each in half. You will have 4 rectangles but you can toss one to the side.


We will work on the sleeves first~Turn the shirt inside out and press the sleeve so you will have a "guide" to sew the elastic to Measure out your elastic which you want to be about 1/2 of the length of your sleeve it was a little more than 1 1/2 inches for mine. Sew the top of the elastic to the sleeve to hold into place and with your needle down, stretch your elastic to the end of the sleeve. This will gather your shirt sleeve~you might want to move the gathering around to how you like it before you sew the elastic into place. After you have it like you want, sew the rest of the way down the elastic and don't forget to backstitch at the beginning and end. Repeat this to the other sleeve.

You can now turn your shirt right side out. Lay two rectangles together and run a gathering stitch down the center and gather your rectangles to the desired length and sew to the center of your shirt. {For gathering tutorials you can reference these~there are several ways to do this but this will help you if you haven't ever tried-- with crochet thread and sewing machine,  or with a straight stitch.

Then you will want to cover up that middle, so I took the last rectangle and turned the tow ends under and edgestitched both sides.

Next I took two buttons to sew into my center. You can sew the buttons by hand or machine. If your machine does not have a button setting then you can adjust a zigzag stitch to fit into your button holes (just make sure that that the needle will fall in your holes). My machine has a button setting so I taped my buttons where I wanted them and sewed them right to the front. (you can sew over the tape)
This is a very easy project that I finished both shirts in less than 45 minutes~could have been sooner if Gabie wasn't sitting next to me.


Tuesday, June 14, 2011

Tshirt Makeover with Crochet Flowers

If you have ever wanted a simple way to make that plain shirt cute, then this is for you. It's a plus if you can crochet~but if your like me and can't then just head on over to The Crochet Elephant and she can Hook you up {no pun intended}!! Just contact her with your color choices and she can make you a little flower sample pack. I needed something to match an outfit so she made me red, navy, and white.
There are many tutorials on crochet flowers if you want to try your hand at them like this one from Little Birdie Secrets-though you might have to adapt it a little to allow for a larger hole in the center for your button.


Next take your plain shirt and figure out your placement for the flower and sew on a button but leave a little room in between the shirt and button to allow you to place your flower. {if you need help with button sewing~google button sewing tutorial}.

After your button is placed just slide your flowers on to match your shirt. I would recommend removing the flower prior to washing the shirt.

Hope you enjoyed this little tutorial and Happy Sewing!!


Friday, June 10, 2011

Quick Sand Removal for Beach Babies

We recently took a quick trip to the beach to visit my sister in Florida. To say my daughters love the beach is an understatement~Gabie can play all day in the sand and run from the waves. Reese just loved to dig and eat it {yes, I know it's gross}. From our first visit I learned that diaper changes on the beach can present a little problem with reddness. I learned this little trick that I wanted to share with you all because I am sure I am not the only one that has come across this. When you change your little ones diaper dust baby powder all over the skin and it makes all the sand fall off to help you with nice clean skin. This also works for older children that you want to dust all the sand off before you hop in the car. Just dust with baby powder and it absorbs all the moisture so the sand won't stick!! It is really amazing~plus it makes their skin so soft.

Hope you enjoy my little trick and don't forget to pack baby powder on your next beach vacation!!


Monday, May 23, 2011

First Birthday Cupcake Theme


I love First Birthdays, it marks an incredible day for both your child and the parents {they (everyone) survived that First year}. It's at this moment that you realize they are growing up, they aren't babies so much. Some are walking, taking their first steps, and some not just yet but it will come soon. Reese had taken a few steps but only practicing, the next few weeks she began taking 5-6 and now a month later she is walking all around the house though she will still crawl at times.

So for her First Birthday I planned a Cupcake Theme and invited only our close family and friends to make this event more intimate and small for her. My goal is to make the girls their birthday cake from now on and I figured cupcakes and fun and easy. I did a spin on rainbow cupcakes and just picked three colors for each cupcake (well Gabie picked the colors)

To make them I used a box mix of white cake mix. Make according to directions then divide evenly into three separate bowls. (I left one white~which isn't pictured here)

Then decide how you want the layers to look and spoon them layer by layer into your cupcake liners.

Here is my little kitchen helper~she had to wear her cupcake shirt to make them!!
Bake according to directions and Frost!!


I went with plain sprinkles on top but I was debating on some personalized cupcake toppers to match our theme. You can find some really adorable ones on Etsy like these here from Get the Party Started.


KidsCakes makes really pretty Fondant Cupcake Toppers that look great on top~plus they are edible!!


I did create my own invitations at home and had them printed locally~mostly due to time. If I had known about these I would have ordered them. Polka Prints will design your invite then you can print them at home or at your local photo center~how Cool is that!!


I made Reese an embroidery Birthday Banner that is just her name so I could hang it in her room throughout the year


I also made Cake Pops as party favors, you can find the recipe from Bakerella


{Please be advised that this looks easy, but is a very long all day task~you can order these on Etsy as well check out Cake Pop Shoppe.


I took Reese to the fabric shop with me one day and she actually picked out her skirt fabric for the party (and by picked out I mean she literally pulled the same bolt of the shelf twice). So I combined that with a sweet fluffy frosted Cupcake Applique to make her one sweet little outfit!! My friend at Cutie Pie Crafts made her hairbow for the day and another friend at Christensen Photography came to take the photo's so I could relax and enjoy the day and not worry about who will snap all the pics that I will want to look back at and cry over when gets older and doesn't need me as much.


My mom made the cake above for her Birthday~even after she knew I had made 48 cupcakes!! Guess a girl can't have too much cake at her birthday huh?